Many Netgear router users have reported that they are not happy with the performance of their wireless routers. Are you amongst those users? Nodding your head in yes? Well, that is sad. But, worry not. We are here to put an end to your sad days. Wondering how will we do that? By helping you learn how to perform Netgear extender setup via mywifiext.
By configuring a Netgear wireless range extender, the WiFi signals of your existing router will get extended. This means that you can gain access to the internet in every damn corner of your house, even the ones that have no WiFi service. Sounds great, isn’t it?
Continue reading this post and learn how to perform the Netgear extender setup process.
How to Perform Netgear Nighthawk Extender Setup?
- Unwrap the Netgear wireless range extender that you just brought.
- Plug the extender into a non-damaged power socket.
- Turn on the device by pushing the power button.
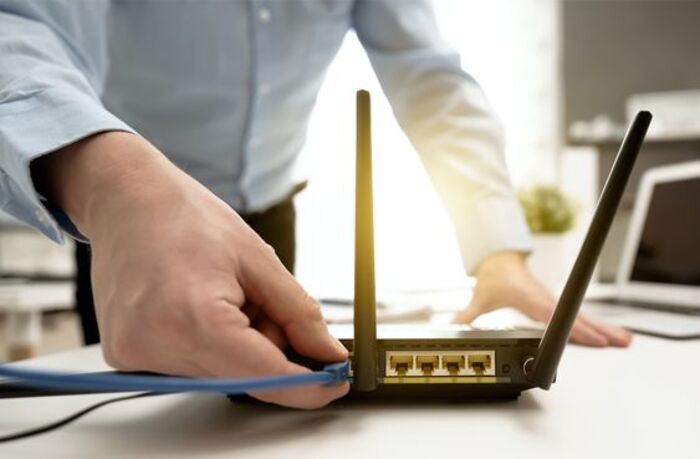
- Take an Ethernet cable and connect your extender to the router with its help.
- Gain access to your computer.
- Open the internet browser that you use the most.
- In the address field, insert mywifiext.net and press the Enter key.
- If you want, you can also use the default IP, i.e. 192.168.1.250 for the same purpose.
- Do not enter 192.168.1.250 in the search bar of the existing internet browser.
- Once you are on the extender login window, enter the default login credentials.
- Click the Log In button.
- Are you on the Netgear Genie wizard? Good. This means you are doing great so far.
- Walk through the on-screen instructions.
With that, the process of Netgear extender setup has concluded here. Now, you can gain access to a seamless and lag-free internet connection on every device.
In case, you get stuck anywhere while executing the process, don’t feel helpless just like facing difficulties in finding Philips universal remote codes cl035A. Simply take the help of the following troubleshooting hacks. They will surely be of some help.
Netgear Nighthawk Extender Setup Failed?
1. Check the Power Supply
The most important thing to complete the process of Netgear extender setup is the proper supply of power. Therefore, check whether your device is getting an uninterrupted power supply. If you find any damages to the power socket, plug your device into another one.
2. Verify the Ethernet Connection
The Ethernet cable connected to your Netgear extender and the router should not have any cuts on it. Otherwise, proper communication between your devices will become next to impossible. To troubleshoot the, it is recommended that you bring a new cable home.
3. Keep Your WiFi Devices Close
Make sure that your Netgear wireless extender and the host router are kept close to each other. Why? Doing this will ensure that their signals are getting transmitted properly. But, ensure that they are not placed too close. This might lead to the clashing of their signals.
4. Use the Correct Web Address
Think about it, if you won’t use the correct web address, will you be able to access the extender login page or the Netgear Genie dashboard? No, right? So, ensure that you make use of the correct web address. In case you are using a MAC device, use mywifiext.local.
5. Enter the Right Admin Details
Another thing that needs to be taken care of for a successful Netgear extender setup process is the use of correct login credentials. If you are not sure about the password and username of the existing device, refer to the manual, but do not enter the incorrect details.
6. Keep WiFi Interference at Bay
Apart from the aforementioned points, you need to make sure that your Netgear Nighthawk extender is kept nowhere near the following things:
- Cordless phones
- Refrigerators
- Microwave ovens
- Washing machines
- Treadmills
- Televisions
- Baby monitors
- Mirrors
- Fish tanks
- Bluetooth speakers
- Corners
- Concrete walls
- Aluminum studs
Done following the troubleshooting hacks? Well done! Now, try to perform Netgear extender setup again. Did you get fortunate this time? If not, then your last resort is to use the Nighthawk app to execute the exact process.
Summing Up
With pride, we are putting an end to our guide on performing Netgear extender setup via Netgear_ext. Hopefully; the aforementioned guidelines helped you out in setting up a range extender in your house. If you were successful with the same, then congratulations!
Author bio:
Hello, I am a professional SEO Expert & Write for us technology blog and submit a guest posts on different platforms- we provides a good opportunity for content writers to submit guest posts on our website. We frequently highlight and tend to showcase guests.