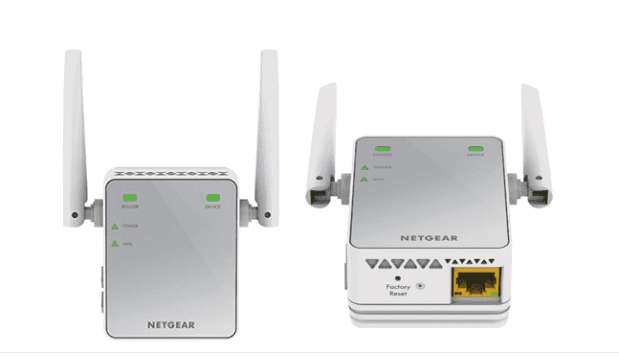
Performing Netgear EX6120 setup is really important as it provides a steady internet speed to access all over the house.
Now, you might be wondering how to perform the Netgear EX6120 setup, right? Well, wonder no more! Here, in this post, you will learn how to configure the Netgear EX6120 extender in minutes. Let’s take the plunge!
Methods to Setup Netgear Extender
In this post, we will provide you with two different methods through which you can easily configure your range extender. They are:
- Manual Method
- WPS Method
Just go through this post once. And, by the end of this post, you can choose any one of the methods, which you find easy to perform the Netgear extender setup process. Keep scrolling down!
Netgear EX6120 Setup
The Manual Method
Go through the instructions provided below and know how to configure your Netgear range extender using the manual method:
Step 1: Right off the bat, plug in your Netgear EX6120 extender. Make sure that the extender’s wall outlet isn’t damaged. Nuru massage
Step 2: Upon plugging in your Netgear extender, the LEDs on it will start blinking. You have to wait for them till they become stable. Once they are, grab an Ethernet cable. Using the cable, connect your extender and router firmly.
Step 3: After connecting your Netgear and router, turn on a laptop/ desktop to gain access to the mywifiext.net login page using 192.168.1.250 IP.
Step 4: Enter the login credentials (username and password) into the required fields of the Netgear extender login page and click Log In.
Step 5: Follow the on-screen configuration instructions.
Wow! You did it! No one can say that you are a newbie.
The Ball is in Your Court!
Your Netgear EX6120 WiFi extender has been configured successfully using the manual method. We must say, you are a professional!
Key Points to Remember
- Do not use a damaged Ethernet cable.
- Don’t forget to update the software of the device (computer or laptop).
- Clear the browser’s cache and browsing prior to accessing the mywifiext.net login page using 192.168.1.250 IP.
- 192.168.1.250 IP will not work if you have used the browser’s search bar for the same.
- Use the correct Netgear extender login username and password. For information regarding the same, see its manual.
- The use of an up-to-date web browser will also help a lot to make the extender’s default IP address work for you.
That’s all! Now, you can scroll down a little and know the steps to perform Netgear extender setup steps using the WPS method. Continue to read!
Netgear EX6120 Setup
The WPS Method
Step 1: Make sure that your Netgear extender is plugged in. Apart from this, also ensure that the power LED on the extender is green and stable.
Step 2: Now, locate the WPS button on your Netgear EX6120 extender. Once found, press it gently.
Step 3: A few moments later, press the WPS button on your main router as well.
You Are All Set!
Your Netgear EX6120 extender has been configured successfully using the WPS method.
Bonus Tips
For a smooth and well-functioning of your Netgear WiFi range extender, we suggest you update its firmware. Updating the Netgear extender’s firmware will add new features, fix bugs, and enhance security as well.
Another most important thing that you can do to make the most out of your Netgear range extender is to give it a fresh start every week. You can do this by simply:
- Unplugging it
- Waiting for a few minutes
- Plugging it back in again
The Final Words
That was all about our post to configure the Netgear EX6120 WiFi range extender. So, which method you are about to use? WPS or the manual method? Please share your answer with us!
Author bio:
Hello, I am a professional SEO Expert & Write for us technology blog and submit a guest posts on different platforms- we provides a good opportunity for content writers to submit guest posts on our website. We frequently highlight and tend to showcase guests.